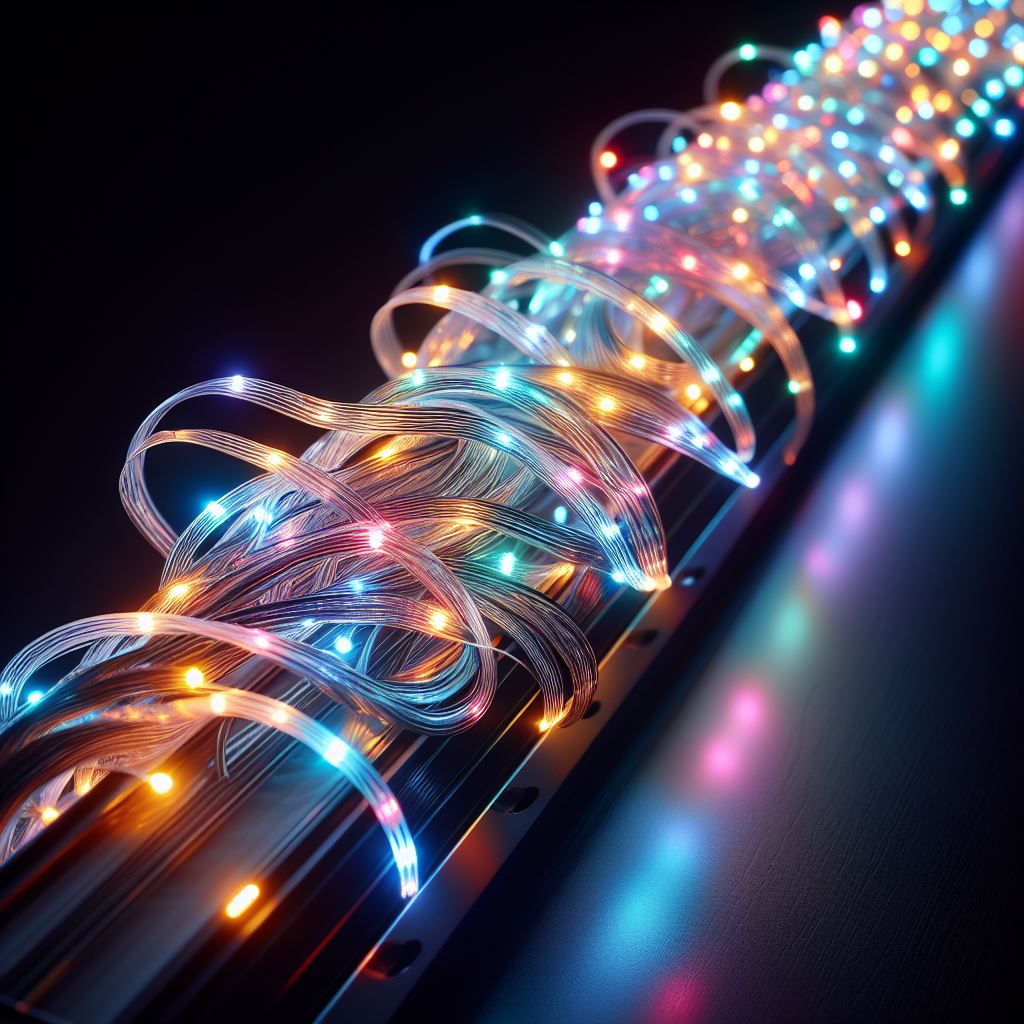
This article will provide a step-by-step guide on how to wire an LED light bar safely and properly so that you can get it up and running quickly. We will cover everything you need to know about the process, including what supplies you need, how to prepare for installation, how to connect the wiring harness, and how to test the lights before using them. We will also discuss troubleshooting tips if something doesn’t go as expected. So let’s get started.
How to Wire Led Light Bar?
Wiring a LED light bar is fairly simple. It is a good idea to have a basic understanding of electrical wiring, but it is not necessary to order to wire the light bar correctly. Here are the steps you will need to take to wire a LED light bar:
Step 1 – Get the Vehicle Ready
Preparing a vehicle for maintenance or repair is an important step that should not be overlooked. Disconnecting the car battery is one of the first steps in this process. To do this safely, start by removing the wire from the ground terminal first and then the positive terminal. This will help avoid shorting out the battery.
It’s also important to note that just removing the positive terminal isn’t enough to prevent a short from occurring between the frame and the positive battery terminal. Therefore, removing both terminals and isolating them from each other is best.
Once you have disconnected your car battery, you can begin any necessary maintenance or repairs on your vehicle with peace of mind knowing that you have taken all necessary precautions to ensure safety. Before beginning any work on your vehicle, taking these steps will help protect you and your car from potential damage caused by electrical shorts or other issues related to improper preparation.
Step 2 – Choose the Right Location
Make sure your light bar is mounted after you have prepared it. Mounting locations should be chosen based on sturdiness. As well as preventing rainwater from entering the passenger compartment, drill no holes anywhere.
The mounting points on your light bar must be sturdy enough to support your light bar when going off-road. Use fender washers if you must mount the bar to the thinner metal if you cannot drill holes that will cause water leaks into your vehicle’s interior. These large washers have small holes. Neither the installation of the light bar nor any other component of an automobile should cause leaks in the passenger compartment.
Step 3 – Drill the Hole
It is important to remember to wear eye protection when drilling holes for an LED light bar. This will help protect your eyes from any debris created during the drilling process. Additionally, it is important to mark the holes with a marker pen before drilling. Most light bars come with a printed paper template that can be used as a guide for marking the holes.
Once the holes have been marked, it is important to center punch them before drilling in order to prevent the drill bit from “walking” as it begins to spin. It is also recommended to begin with a small drill bit and then follow up with a larger one that is the correct size.
Step 4 – Hock Up the Light Bar
Mounting a light bar is an important step in the installation process. Using the correct fasteners and washers when mounting the light bar is important. Bolts and nuts are the best choices for mounting, as self-tapping screws are not recommended unless they are the only option available.
The lock washer should be closest to the nut when using bolts and nuts. A flat washer should be placed beneath the head of the bolt and the nut, a flat washer beneath the nut, and a lock washer below the bolt. Most light bar kits come with their own set of fasteners and special washers that should be used for mounting.
When installing your light bar, it is important not to completely tighten any of the fasteners until all necessary adjustments have been made to ensure proper alignment. Once all adjustments have been made, you can begin tightening each fastener one at a time until they are secure. This will help ensure that your light bar is properly mounted and secure in its position.
Step 5 – Place the Switch
For your dashboard, you need to route the switch wire segment through your firewall after detaching the wire segment from the main harness. Once you have found the desired location, use an adhesive type to put the switch in place. The other end of the switch’s wiring line should then be connected to the harness. Depending on what type of switch you are using, there may be a bracket that mounts under the dash with screws, or you might want to install it into an existing switch plug.
When routing wires for your switch, avoid sharp edges of brackets and/or moving components under the dash. It is also recommended to secure them to existing harnesses, if possible, for extra protection and stability.
You May Also Like: 4 Best Home Security Systems For Apartments That Will Secure Your Family
Step 6 – Connect All the Cables
Positioning the relay and the cables is important in installing a car alarm system. The relay should be bolted to the firewall near the battery, and then the positive red cable should be mounted directly to the red terminal of the battery. Attach the black negative cable to the chassis to ensure it is grounded. It is important to tuck away any excess wires and cables to avoid putting them close to high-heat zones.
In some newer vehicles, there may be open connection points (studs connected to B+) right on the fuse panel that can be used instead of connecting directly to the battery. Regardless of your method, it is important to ensure that all connections are secure and clean for your car alarm system to work properly. Taking extra care when making these connections will ensure that your car alarm system works as intended.
Step 7 – Now Harness it
The sixth step in wiring a light bar is to connect the harness to the light bar. Start by running the remaining wires from the harness to where your light bar is located. Once you have reached the light bar, hook up the connector wires to it, making sure that red goes to red and black goes to black. After everything is connected, adjust the angle of your light bar using its brackets and secure it by tightening the bolts.
Once you have completed this step, you can connect your switch and power source. This will allow you to control when your LED light bar is turned on or off. It’s important that all connections are properly secured so that they don’t come loose over time. With all of these steps complete, you should now be able to enjoy your new LED light bar.
Does a LED Light Bar Work Without a Relay?

While LED lights do not require a relay to operate, it is still recommended to use one when wiring them up. This is because relays provide an extra layer of protection against short circuits and other potential issues that can arise from incorrect wiring or fuses too small for the amperage of the light bar.
Using a relay also ensures that the switch and wiring are of the proper size for the amperage draw of the LED light bar. Without a relay, there is a greater risk of damaging your vehicle’s electrical system if something goes wrong with the wiring or fuses. Therefore, while it is possible to run an LED light bar without a relay, it is best to use one whenever possible to ensure safe operation and prevent any potential damage to your vehicle’s electrical system.
Frequently Asked Questions (FAQs)
1. How do I know if my LED is positive or negative?
LEDs have a longer lead on one end than on the other. Those longer leads are called anodes (+), while those shorter ones are called cathodes (-). Second, the LED has a small flat notch on the side. The cathode is always the lead closest to the notch.
2. What type of switch should I use for my LED light bar?
The type of switch you should use depends on the amperage draw of your LED light bar. A simple toggle switch will do if it is a low-amperage draw. However, if it is a high-amperage draw, you should use a relay and an appropriate-sized switch.
3. Which side of LED is ground?
Your circuit’s positive lead will always be the longer lead, which is your anode. You will always ground/negate your circuit via the shorter lead, called the cathode.
4. Which wire is positive?
Positive wires are typically black in color, also called hot wires. Electricity comes from it. When the positive wire is plugged into an outlet or other power source, it is considered a live (and dangerous) wire as it travels from the outlet to the power source.
5. What color do wires go together?
There is a yellow stripe or a green stripe on the protective ground. In the case of a second active phase, the hot wires (live or active) are red.
Conclusion
A led light bar will make your long drive easy and smooth and also let you drive without any worries. However, giving way dozen money to professionals doesn’t always seem convenient. I think I have explained how to wire the led light bar well so that you don’t have to spend money on the light bar right now. So, what are you waiting for? Wire a led light bar in your car and tell us your experience.